A few weeks ago I announced a new 3 part series on efficient post wedding working flow for photographers. I wanted to start this post because I have been asked A LOT about how I am able to blog a wedding & turn over the final images to my clients so quickly. Instead of answering everybody individually, I decided to just write a 3 part series about my workflow! Before we get started, I want to make it clear that an efficient post wedding workflow for photographers start wayyyyy before the wedding. It’s a whole workflow system I’ve implemented for my business that allows me to turn over images quickly to my clients. Here are the three prerequisites to an efficient wedding workflow;
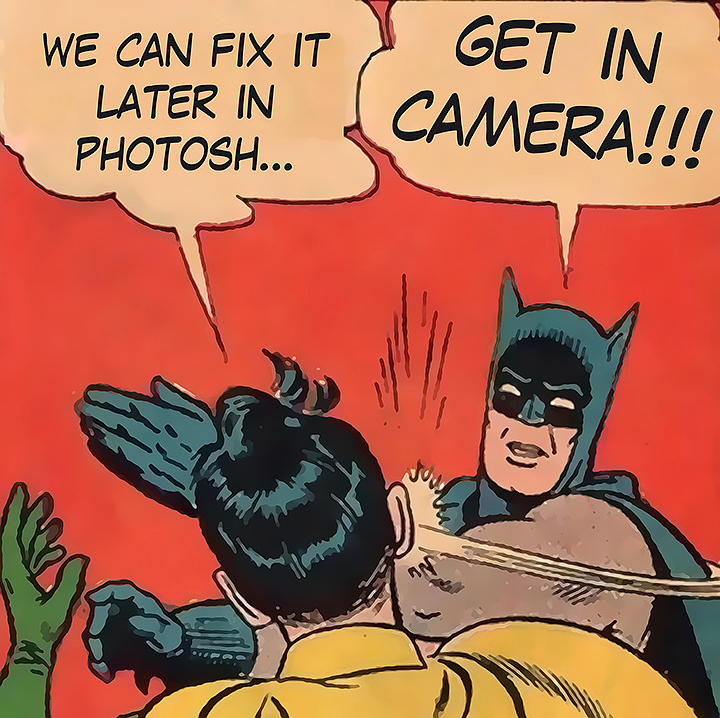
1. As batman said, GET IN CAMERA! Learn your camera inside out, shoot well straight out of camera to eliminate unnecessary editing time.
2. Don’t overshoot and “spray and pray” to start with. For a typical wedding, I shoot about 1,300 images and my associate photographer will provide another 1,000 or so. I have to look through about 2,300 images. I’ve heard stories where photographers will take 4000-6000 photos at a wedding! Conceptualize the shots before you take it, it will help cut down a lot of unnecessary shots.
3. Implement the workflow and stick with it. An efficient workflow could be fine tuned, but overall structure should always remain the same.
In part 1 of this series, I’ll discuss my culling, and categorizing system. Everything I do is built for speed. I shoot approximately 25-35 weddings a year, and without an efficient workflow, I could be stuck behind the computer for weeks after each wedding. This is the time I need to market other business ventures, spending time with family, and actually enjoy life. Also a quick turn around time will make your clients LOVE you. Everybody’s excited after the wedding; the sooner you can get the images to your clients, the more you can capitalize on that excitement.
The workflow picks up at the end of the wedding. I’ll break down each phase of my workflow with illustrative images and link to the tools I use. I’ll use the destination wedding I just shot in Napa Valley as an example.
IMMEDIATELY AFTER I GET HOME
1. download CF cards onto my desktop into a client folder. The folder is structured as the following;
My computer – Pictures – JCP – Weddings – BROWN (client last name) – RAW – JEREMY
My computer – Pictures – JCP – Weddings – BROWN (client last name) – RAW – SECOND SHOOTER
File transferring speed is much faster onto your desktop than onto an external hard drive. Not to mention once it’s done being transferred, all the RAW files are automatically backed up on the Time Machine. I use Lexar USB 3.0 Card Reader.
INITIAL DOWNLOADING
I use a software called Photo Mechanic. Trust me, it will be the best $150 you will ever spend. Photo Mechanic uses a different type of display engine than Lightroom, which allows the images to be load almost immediately. Even large RAW files. If you have been using Lightroom, or Adobe Bridge to view your files; trust me, this will change your editing life.
Once it finishes downloading the files, and opens up the folder location in Photo Mechanic, this is the screen you will see.
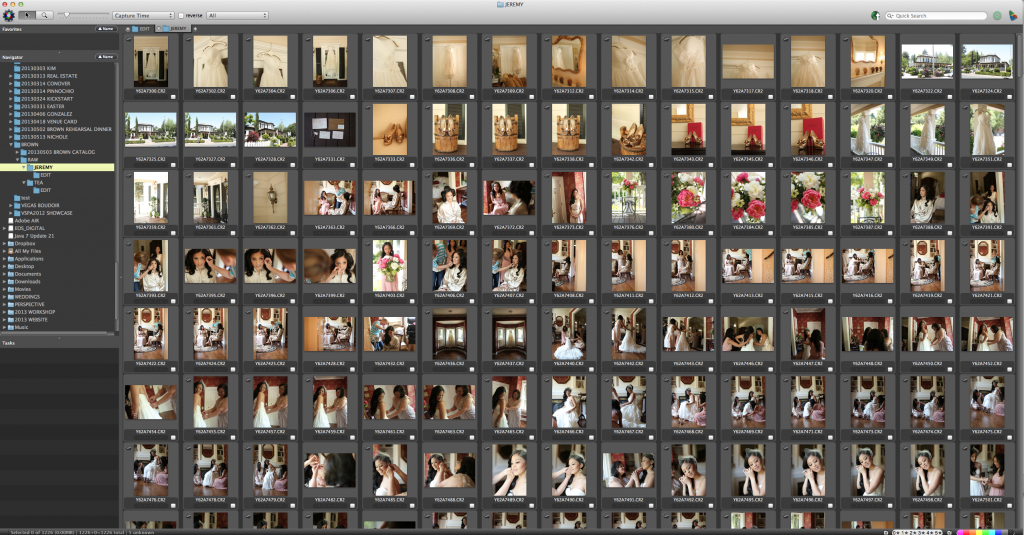
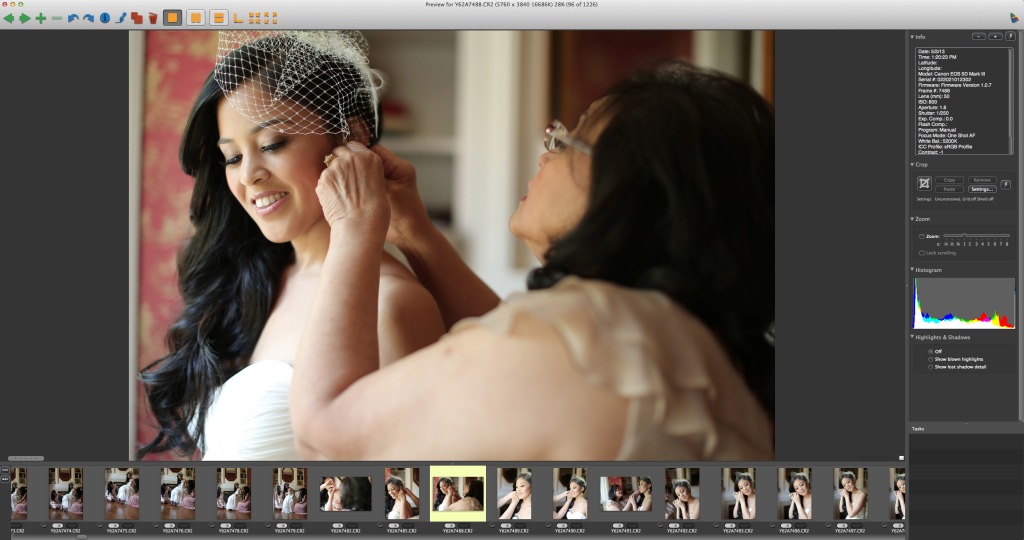
Under the view module, you can select how you want to sort the files. I typically just sort it by Capture Time. At this point, My folder of RAW images is still separated from my 2nd shooter’s. Photo Mechanic also has an ‘ingest’ function where you can transfer RAW files from your cards directly to the destination folder of your choice. But my experience is that the good ‘ol grab & dump is still faster than the ingesting function. Once the files are loaded, double click on any image and you will see the following;
CULLING
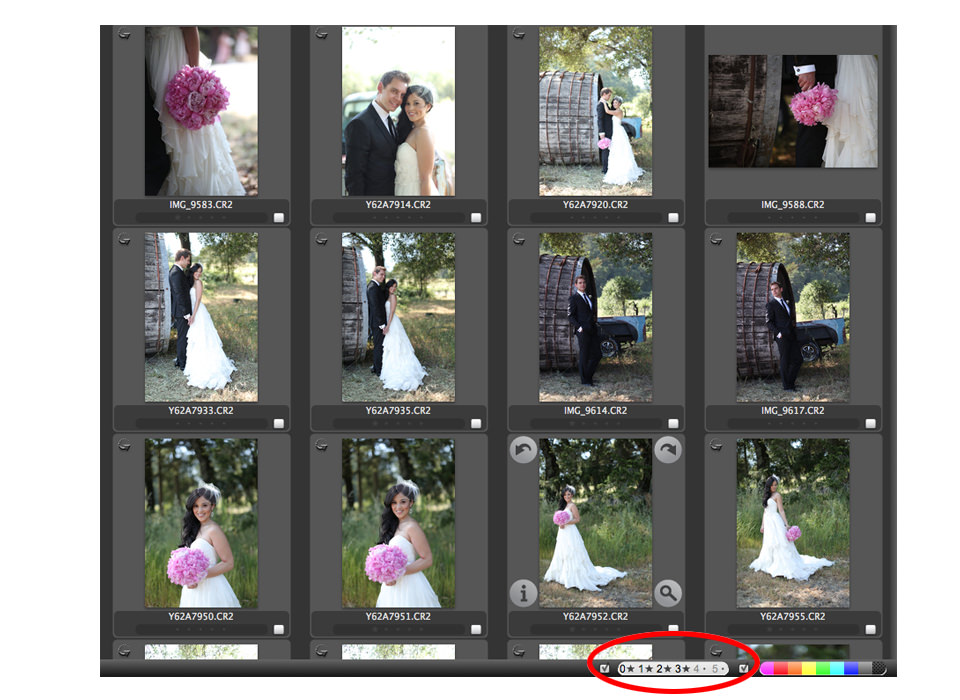
Here’s where it starts to get fun. Very quickly, you assign rating to the images. The rating you assign will also be transferred into Lightroom when you import later. How neat, huh? Here’s my rating system;
0 Star – Toss
1 Star – keep
2 Star – Blog
3 Star – Portfolio
In Photomechanic, you can assign different ratings by holding down “Control” and either 1, 2, 3, 4, or 5. This is the rating system that will be transferred into Lightroom later. Using the rating system, I can generally cull through an entire wedding in about 1 hour.
After you are done assigning star rating system, on the lower right hand corner of Photo Mechanic you can then filter out only the images you want. In my case, I only keep images that are rated 1, 2, or 3 stars. I will then do the same process for my 2nd shooter’s images.
CATEGORIZING
So now you are about 1 hour into the culling, and everything has been selected. Awesome job! Next is Categorizing your images. Once you filter through and only keep the rated images. I will then move the RAW files from the original folder to a subfolder called “EDIT”.
Folder location | My computer – Pictures – JCP – Weddings – BROWN (client last name) – RAW – JEREMY – EDIT
You can create a subfolder natively in the Navigator panel of Photo Mechanic. Just hover the mouse button over the folder and right click;
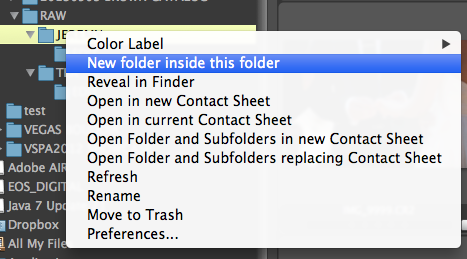
Once the sub folder is created, select all images that have been rated and move it into the EDIT folder. It’s a simple click and drag operation. Select all the images, drag it into the folder in Navigator Pane. It’s really easy!
That’s it! I usually cull through the images on the day of the wedding, or at the latest, the next morning. This entire process will take about 1 to 2 hours. Get a nice playlist going on Spotify and knock it out! It will be over before you know it. After I’m done culling, then it’s off to blogging the wedding the day following the wedding. I typically blog within 24 hours of the wedding, and my clients LOVE seeing the images super fast. They get excited, and start sharing the images with their friends and family!
Make sure to come back next Wednesday for the 2nd part of the series; Supercharging your workflow inside Lightroom.
If you have any awesome tip on culling or sorting, I’d love to hear from them! Feel free to leave a comment and share it with everybody else!
Share this story