PART 3 of the post wedding image workflow series!!
If you missed Part 1 and Part 2 of the series, make sure you check them out first before reading this post. Otherwise it might make no sense to you. In part 1, we talked about the initial culling and categorizing of the images immediately after a wedding. I demonstrated the rating and culling system that allows me to turn over most weddings in one week. In part 2, I discussed the efficient way of editing photos using Adobe Lightroom. and my wedding photography workflow system. Now on to the final chapter in the series!
So after you are done culling & editing all the images, it’s time to put it all together and present it in a way that makes sense for your clients. The idea is to present the images in a way that it will be easy for your clients to locate the images they are looking for; therefore increasing the probability of selling prints. I use Pictage as my online proofing company and I absolutely LOVE them. It takes a lot of guessing game out of marketing for my print sell. Pictage is really geared towards professional photographers who just don’t have the time to email blast their clients with latest promotions, etc.. They do it all for me! If you haven’t already, you really should check them out.
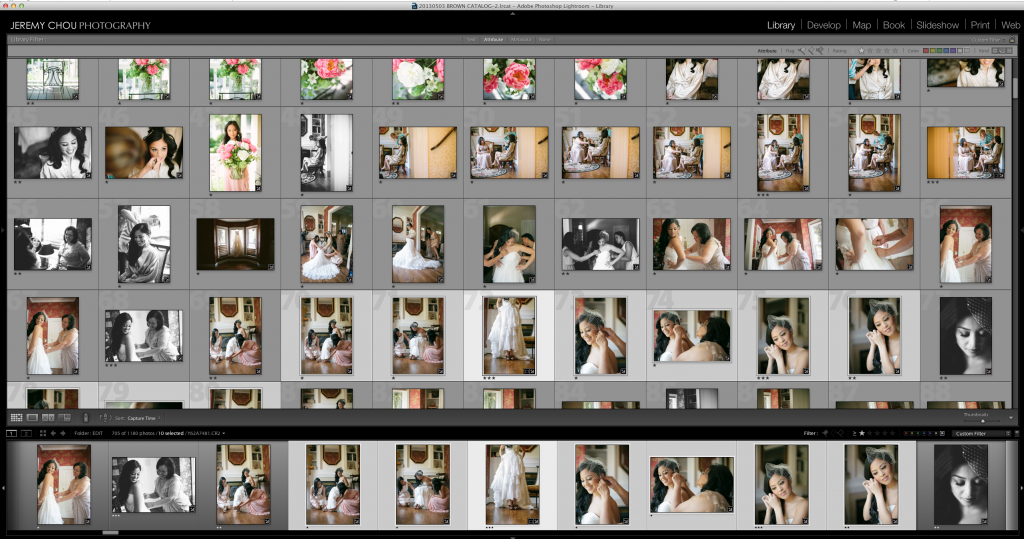
So right now, your screen should look something like the above image. All images are culled, star rated, and ready to export. Notice the images are all in chronological order. Although it’s nice and tells the story of the day, we have details mixed in with getting ready photos, maybe groom’s getting ready photos intermixed with bride’s getting ready photos because of the time stamp. Can you imagine a bride who’s looking for shots of her gorgeous wedding rings now have to sort through almost 1,000 photos in order to find it? So I break up my images into the following categories;
01 Bride & Groom Portraits
02 Bridal Party
03 Preparation
04 Ceremony
05 Details
06 Guests & Candids
07 Reception
Looks something like this;
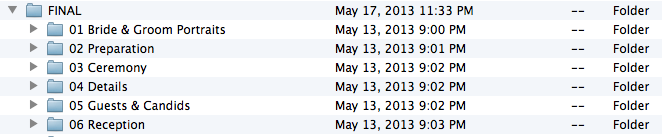
You will need to modify these folders based on your personal preference and each wedding. For Doug & Aileen’s destination winery wedding in Napa Valley, they had a really small bridal party. So I removed the bridal party folder and put everything under Guests & Candids.
After the folders are created, I go back to my Lighrooom catalog and reorder the images to match the folder structure. It now looks something like these;
All bride & groom portraits in one section;

All details in one section
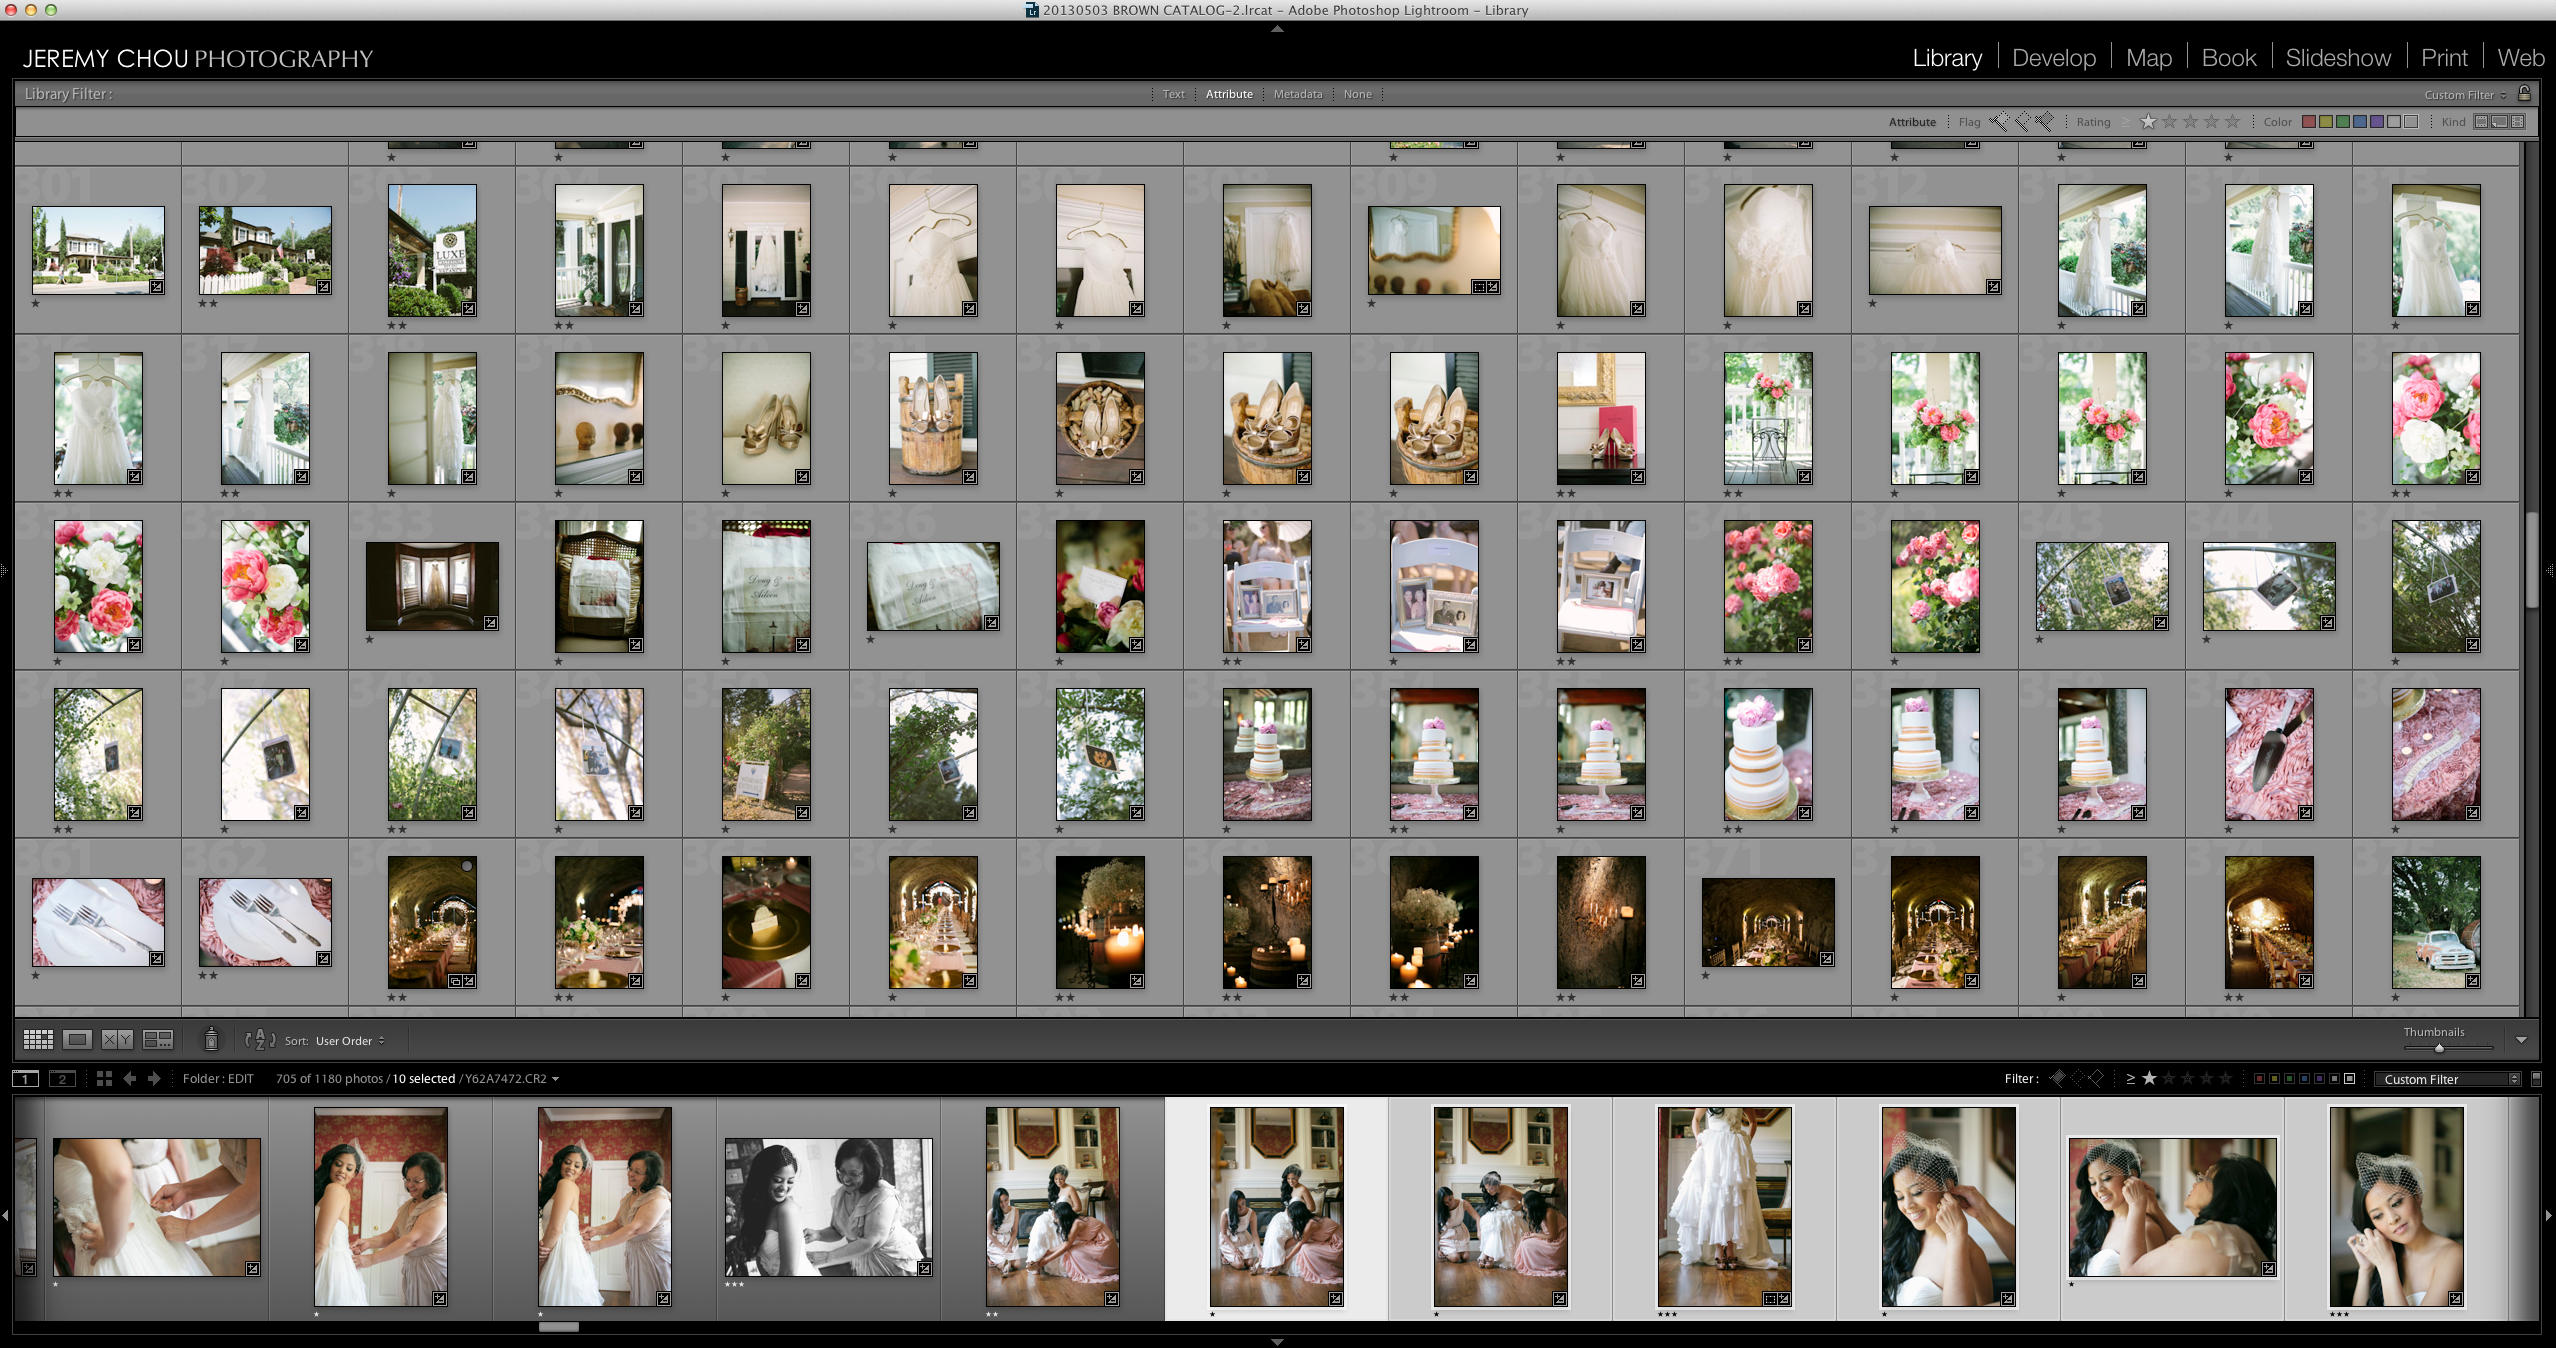
Guests & Candids.
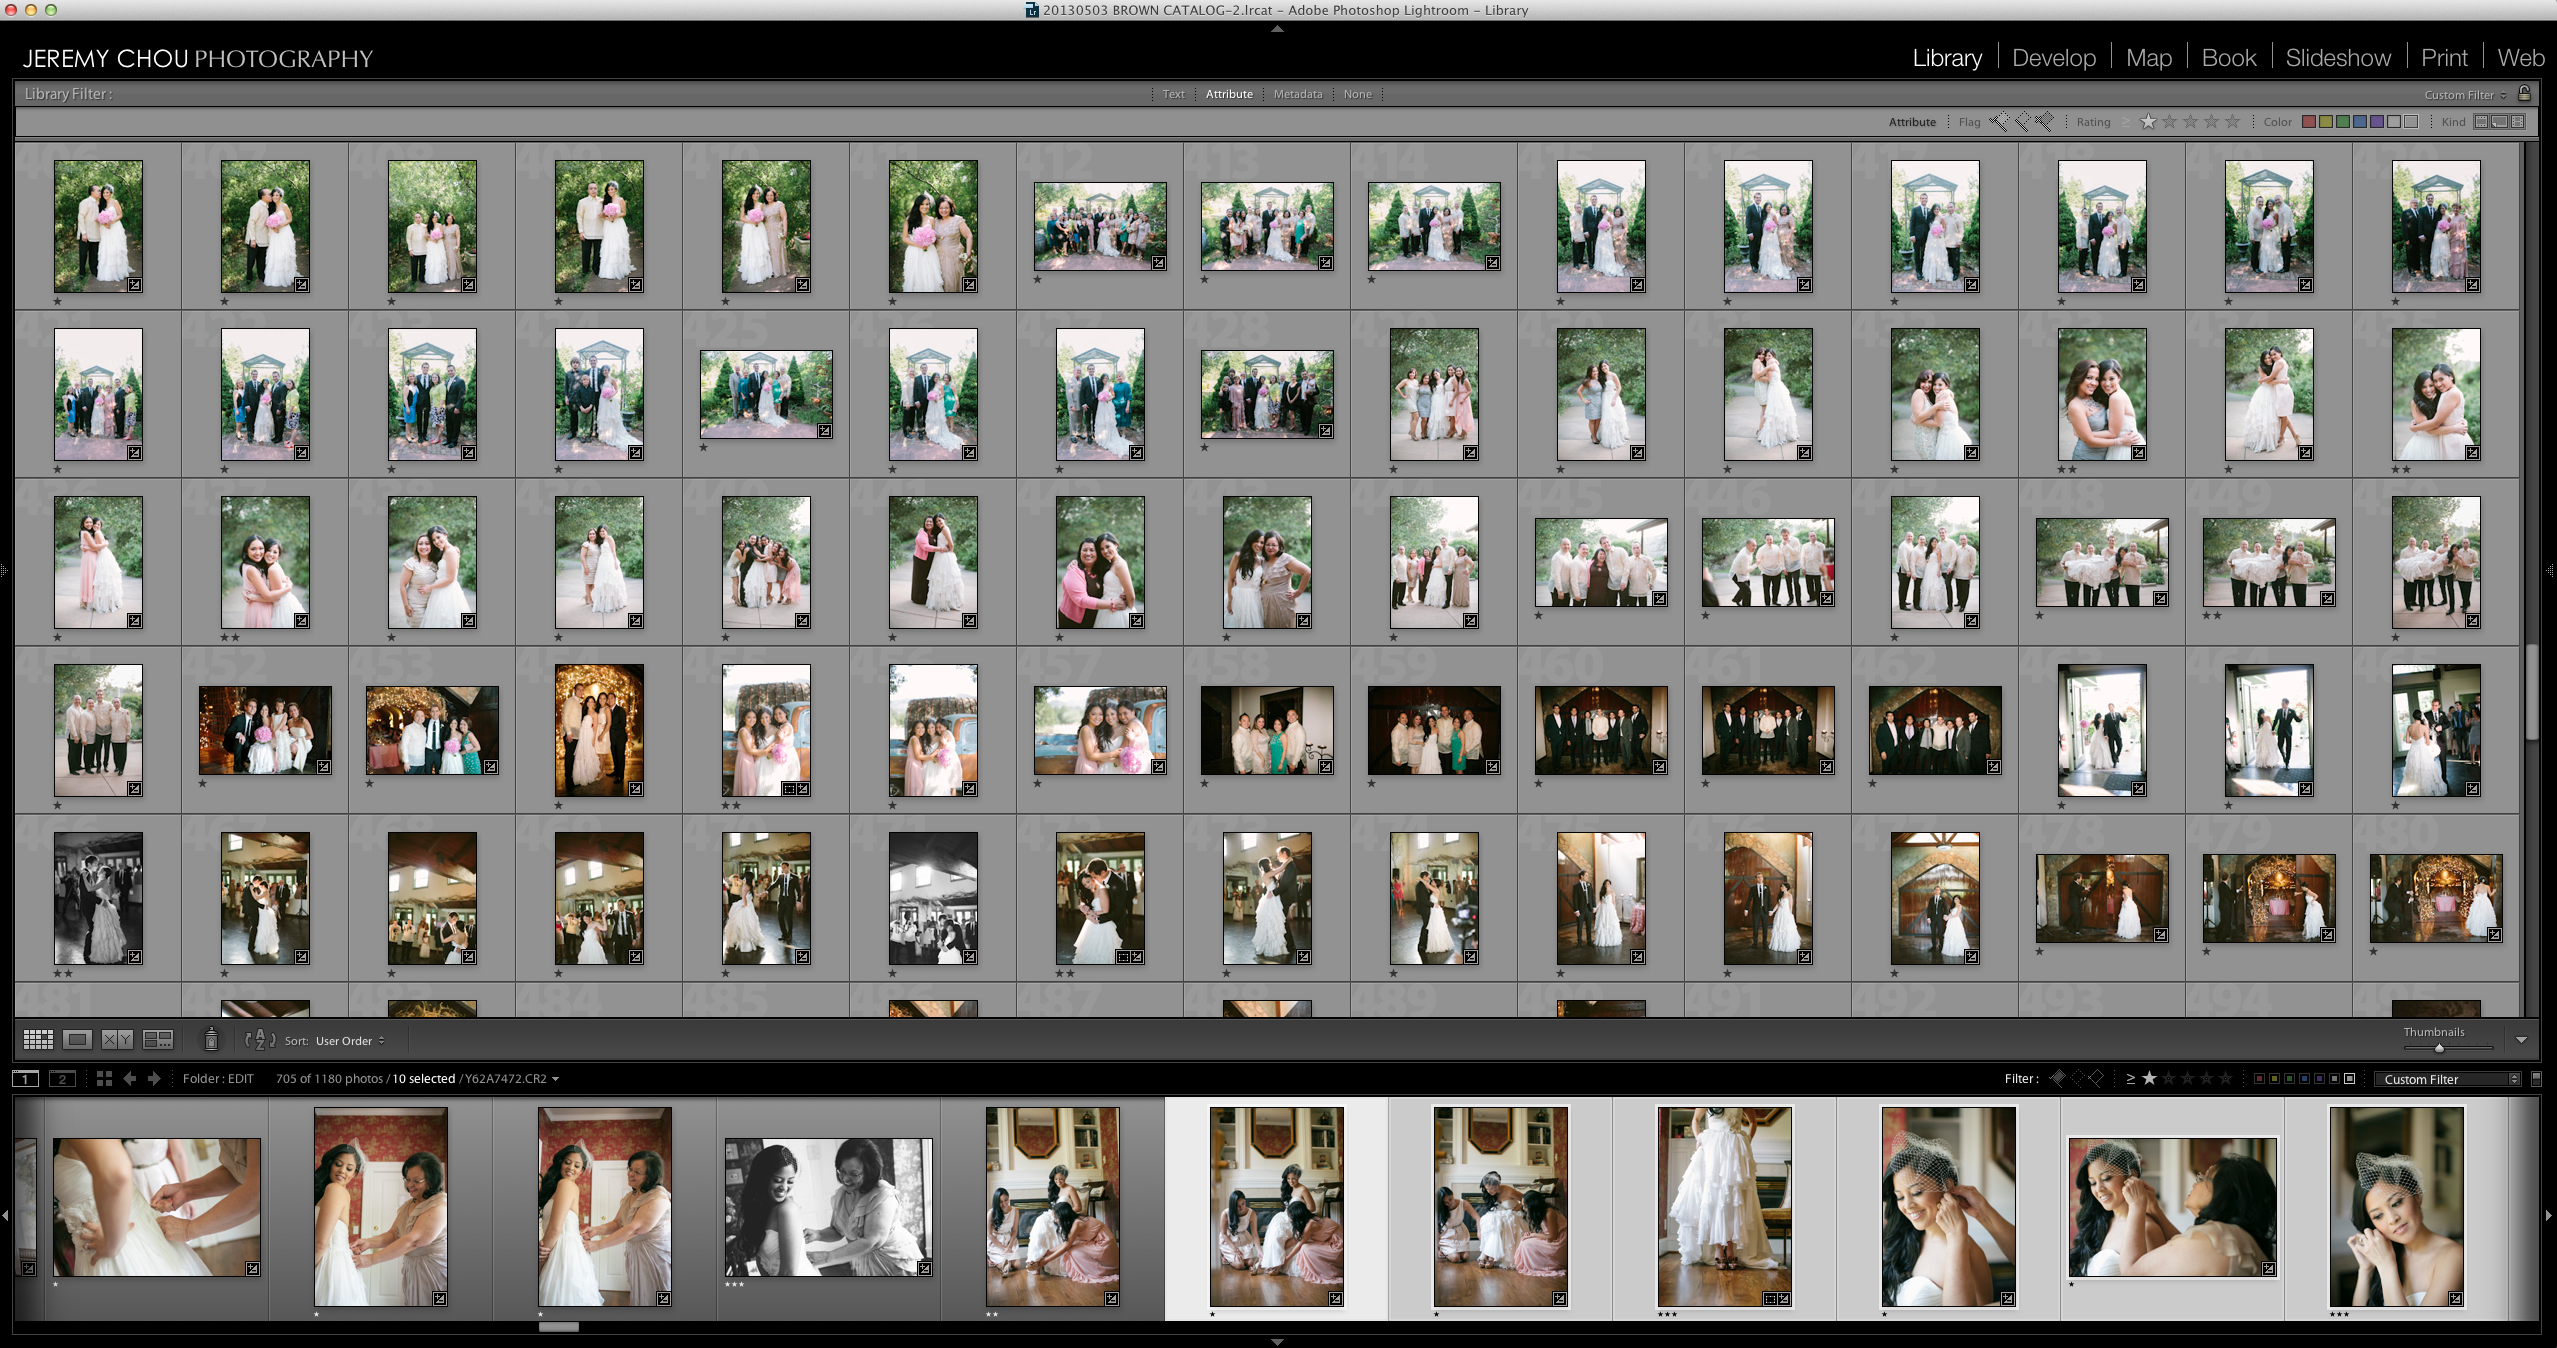
So on and so forth. You get the idea! The concept is to organize everything into groupings, making it easier for your clients to find what they are looking for.
This might be a tedious process for the first few times. But after a while it will become second nature to you. After everything’s in its correct order,
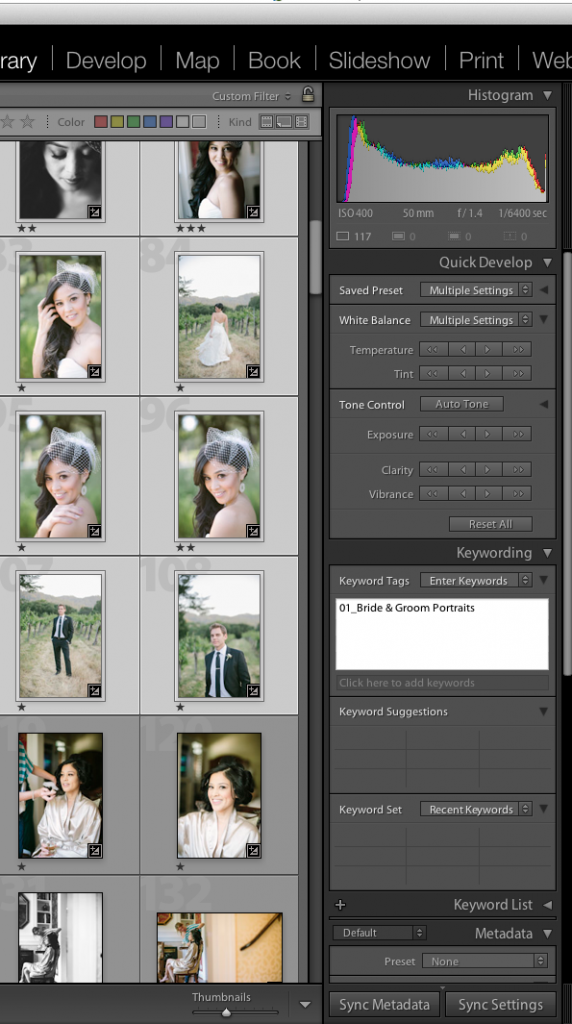
Next step is to punch in Keywording. Which you can find it under the Library module on the right hand side. This is important step because Pictage will actually read the Keywords and separate your folders into appropriate categories magically. I first will select all the images for Bride & Groom portraits, while highlighted in the library module, punch in the keywords. Pictage has also created a PLUGIN for Adobe Lightroom to streamline the process. You can get the plug in by CLICKING HERE. The plug in is pretty self explanatory so just follow the steps and you will be able to set it up pretty quickly. Once the images are uploaded, you can just go to Pictage and release it to your clients!
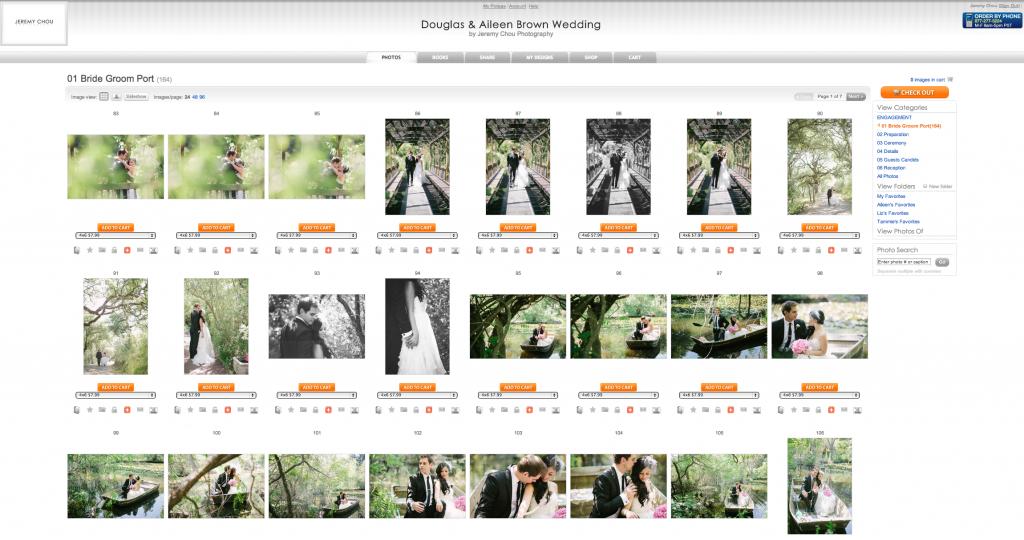
Here’s what it looks like on Pictage. Everything’s categorized and super easy to find!
Now the LAST step is the actual presentation of images. I use Miller’s Lab custom DVD cases, which you can get by CLICKING HERE.
That’s it! This whole process will generally take a week. Sometimes it could take longer just depending on my current workload. In the month of May and June, I shot a total of 10 weddings, including two back-to-back wedding weekends. So the turn around time might get pushed out to 3 weeks. My contract states no more than 8 weeks, and on very, VERY rare occasions I’d take the entire 8 weeks. If you follow the same system for every wedding, it will soon become second nature. After about 80 weddings, I finally have it down to a science. And lucky for you, I’m sharing it with you! I hope you’ve found the 3 part series helpful. On to the next one!
PART 1 – Efficient Post Wedding Workflow – Culling & Categorizing
PART 2 – Lightroom Editing for Photographers
PART 3 – Presentation of Wedding Images using Lightroom & Pictage.
Share this story